1. Create the folder
Create the following folder.
C:\Users\<user name>\AppData\Local\BeamNG.drive\0.31\art\dynamicDecals\texturesIf you can’t find the above folder path, please refer to the page below.
Userfolder
Information and support for BeamNG.drive and BeamNG.tech
documentation.beamng.com
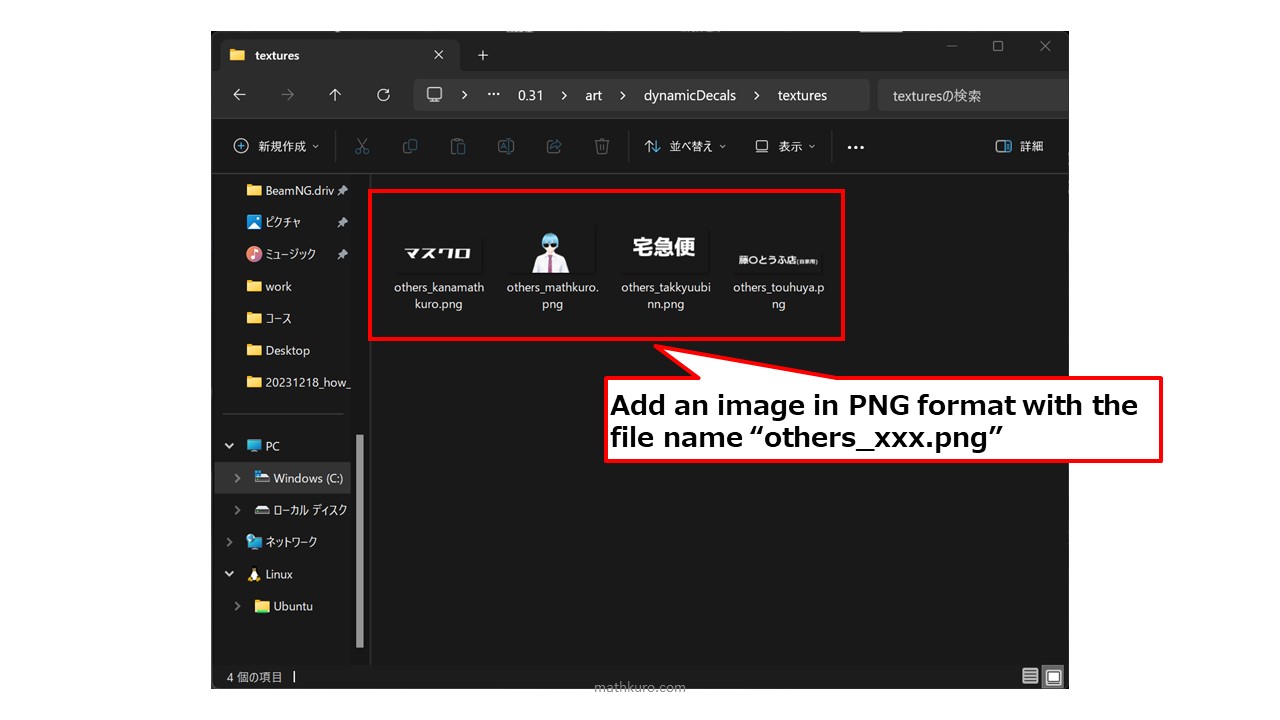
2. Add images
Add the images you want to use to the folder created in step 1.
The images must be in PNG format and the file name must be in “others_xxx.png” format.
If you want to change the color of an image such as text or basic shapes in the skin editor, the image must be white.
3. Restart BeamNG.drive
In my environment, even if I reloaded the screen/Lua, sometimes it might not be reflected, so it might be a good idea to restart the game.
4. Select image in SKIN EDITOR
You can select the added images in “others” tab on SKIN EDITOR window.
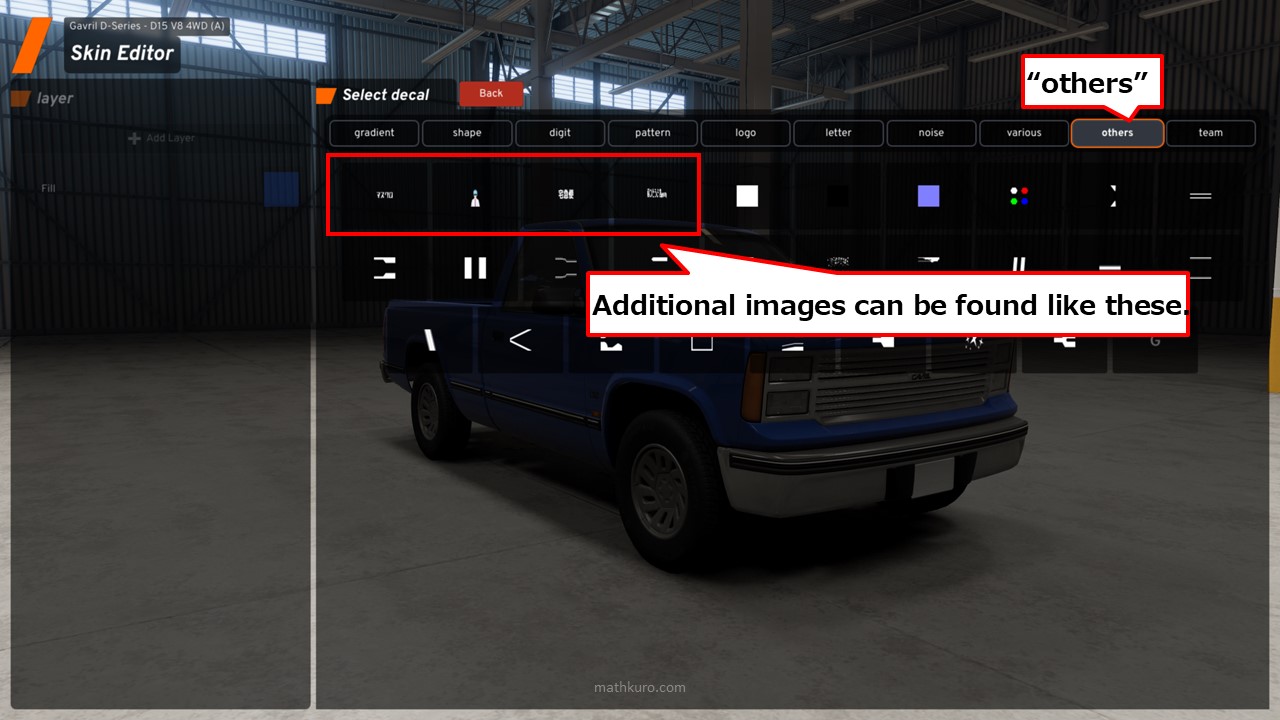
After that, you can treat it like any other decal.
コメント / COMMENT